For a recent Michael Miller challenge, I made a tea cozy. I figured this would be cool as who else would make a tea cozy! (Someone did. And hers might, just might, have been nicer than mine.) But I digress. This is a little post to show you how I made my tea cozy.
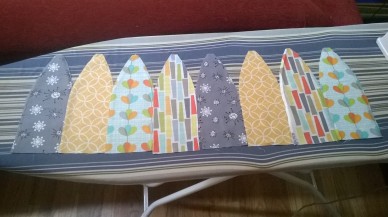
I measured my tea pot. I did some calculations. I thought long and hard about how to create the dome shape I was looking for. I think my first thought would have sewn up as a cone. Here is a photo of my pattern.


I cut 8 petals of fabric for the outside and 8 petals for the lining. The cozy ends up being reversible.
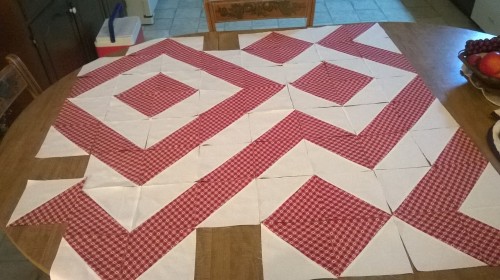
Here is the layout I used for the outside.
I cut 16 smaller petals out of a thermal lining material found with the interfacing at a fabric store. I didn’t buy the one with the metal insulating layer because I was worried about how it would quilt. I spray basted (505 spray) a lining petal to the wrong side of each petal, both the inside set and the outside set. Then I sewed the set of 8 inner petals together along the long seam. I left the final seam open. Separately, I sewed the set of 8 outer petals together along the long seam. This is about the time it became clear to me that I’d created a really difficult way to make a tea cozy.
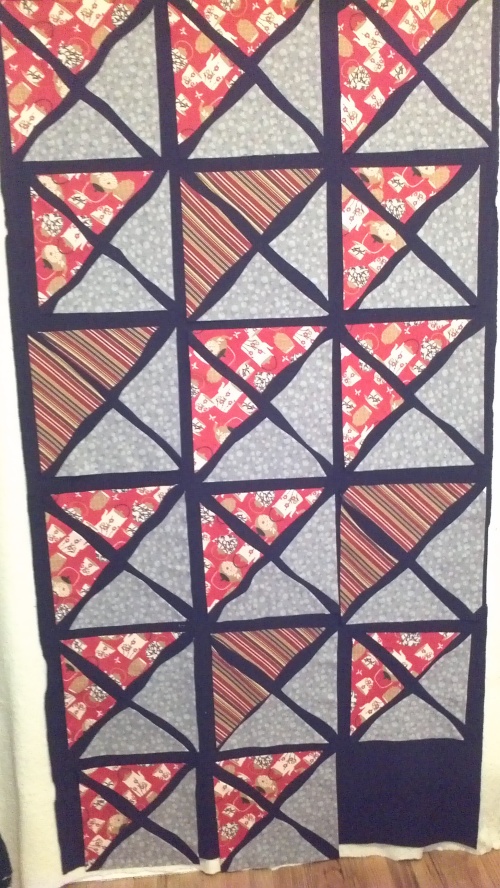
I nested the inner layer against the outer layer, mostly matching up an inner petal against an outer petal, and I hand basted densely. It looked like the photo below when I was about half way through basting.
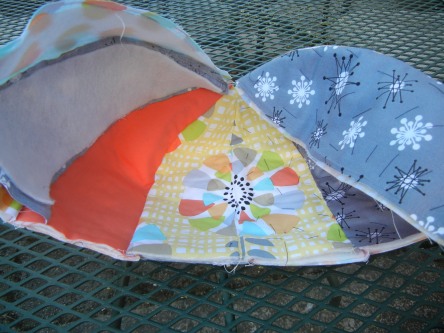
At this point, the inner petals are nested against the outer petals and some petals have been basted.
I left the one side open so that I could machine quilt the two layers together. That looked like the following photo.

The machine quilting went fairly well despite the petals wanting to curl in. I didn’t quilt right up to the unfinished edge as I would need to fold this edge under before sewing the final seam.
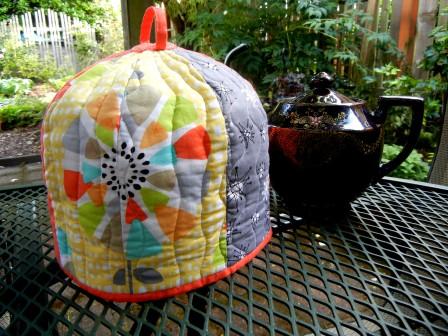
To sew the two edges together, I used a machine to sew a seam on one side and then flipped it over and carefully tucked the edges under on the other side and then hand-stitched that side together. I forgot to take a photo as I was concentrating too much on making it work. My hand sewn seam is not a consistent width as the petals weren’t perfectly lined up, but all in all it came out pretty well. It wasn’t that difficult to do some final machine quilting over the last seam. Here is the finished project, with the tea pot I measured in the background:
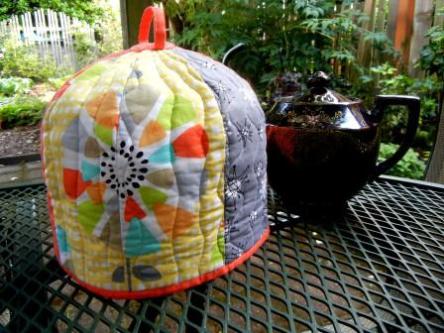
I particularly like this view. Two petals were placed next to one another on the fabric and then cut out. They were able to maintain the integrity of the flower pattern in the fabric.
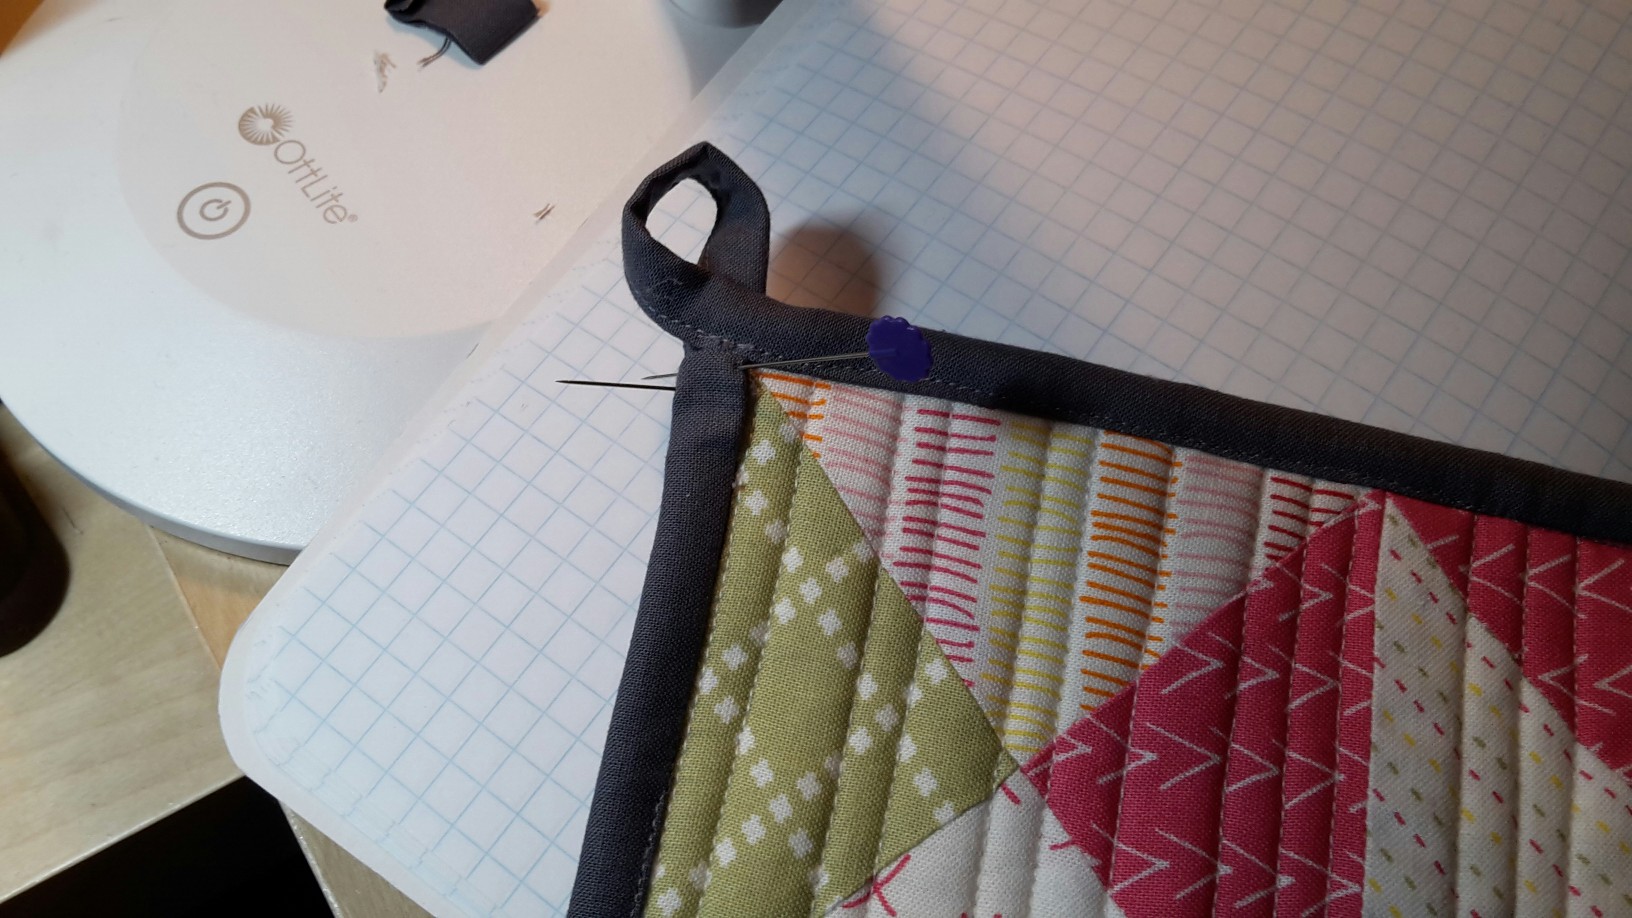
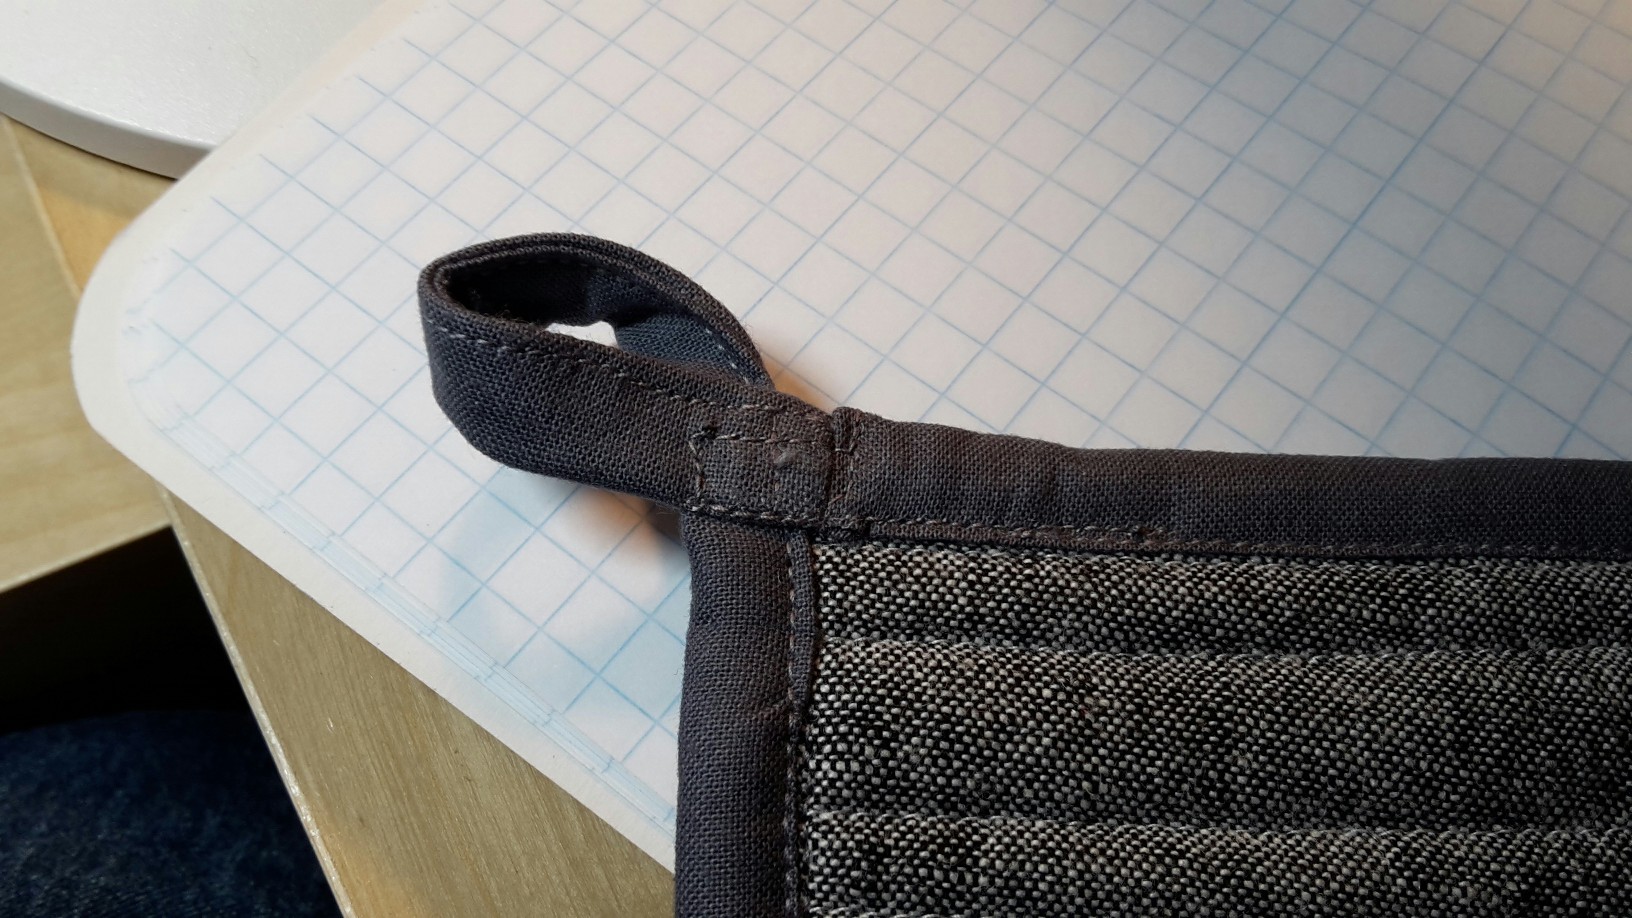
If you actually try to make this (and please let me know if you do because I want to meet someone as crazy as me!) you’ll find that there is a round hole at the top about the size of a nickel. I made two small loops, hand tacked them down to the edges of the hole, then hand appliqued a small circle over the top to hide the edges of the loop. One tip is to sew both the inside and the outside loops to the cozy before you do either the inside or the outside appliqued circle. I had to do some un-sewing because of that little mistake. Of course you can see that there is binding around the bottom edge. No special trick needed for that.
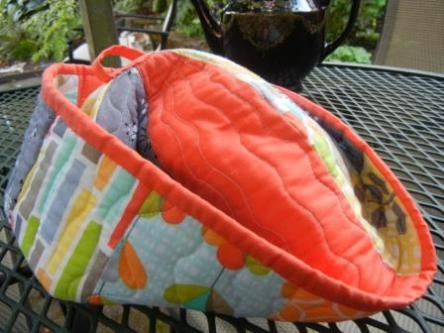
One of the great things about this design is that it is fully reversible. There are no rough edges anywhere and all of the polyester-type insulation is fully covered by cotton fabric. There was something about having uncovered poly next to my steaming tea that bothered me.
I’m very content with my new tea cozy. 🙂 Here is a final photo showing the fully reversible nature of the cozy.
FINAL NOTE: Due to the dome style of this cozy, my children, the youngest of whom is 17, have taken to wearing the tea cozy around the house as a hat.