I took a class last fall from Kristin Shields through the Northwest Quilters Guild. The class was ‘Improv solids’ and while it was fun and Kristin was a great teacher, I didn’t really like what I had created. It languished as a UFO. Six months later, the Portland Modern Quilt Guild is encouraging monthly mini-quilts to build our skills. It’s a good time to force myself to finish my Improv Solids piece. It took some un-sewing, and I have some leftover bits that just didn’t fit anymore, but now I love it!

about 15 x 24 inches
One of the things I love about improv quilts is the many points of interest they can create. The eyes get little gifts as your vision travels around the quilt. At the workshop, one of the participants showed a piece she had made at a previous workshop, and I loved it so much I still think about it. Hers was soothing, very subdued colors, but with little gems of color and interest. I wish I could see it again!
So I hope that my little quilt has achieved something close to that level. At least as I finished it at 1am this morning, I was very happy with it. My eyes enjoy it. 🙂
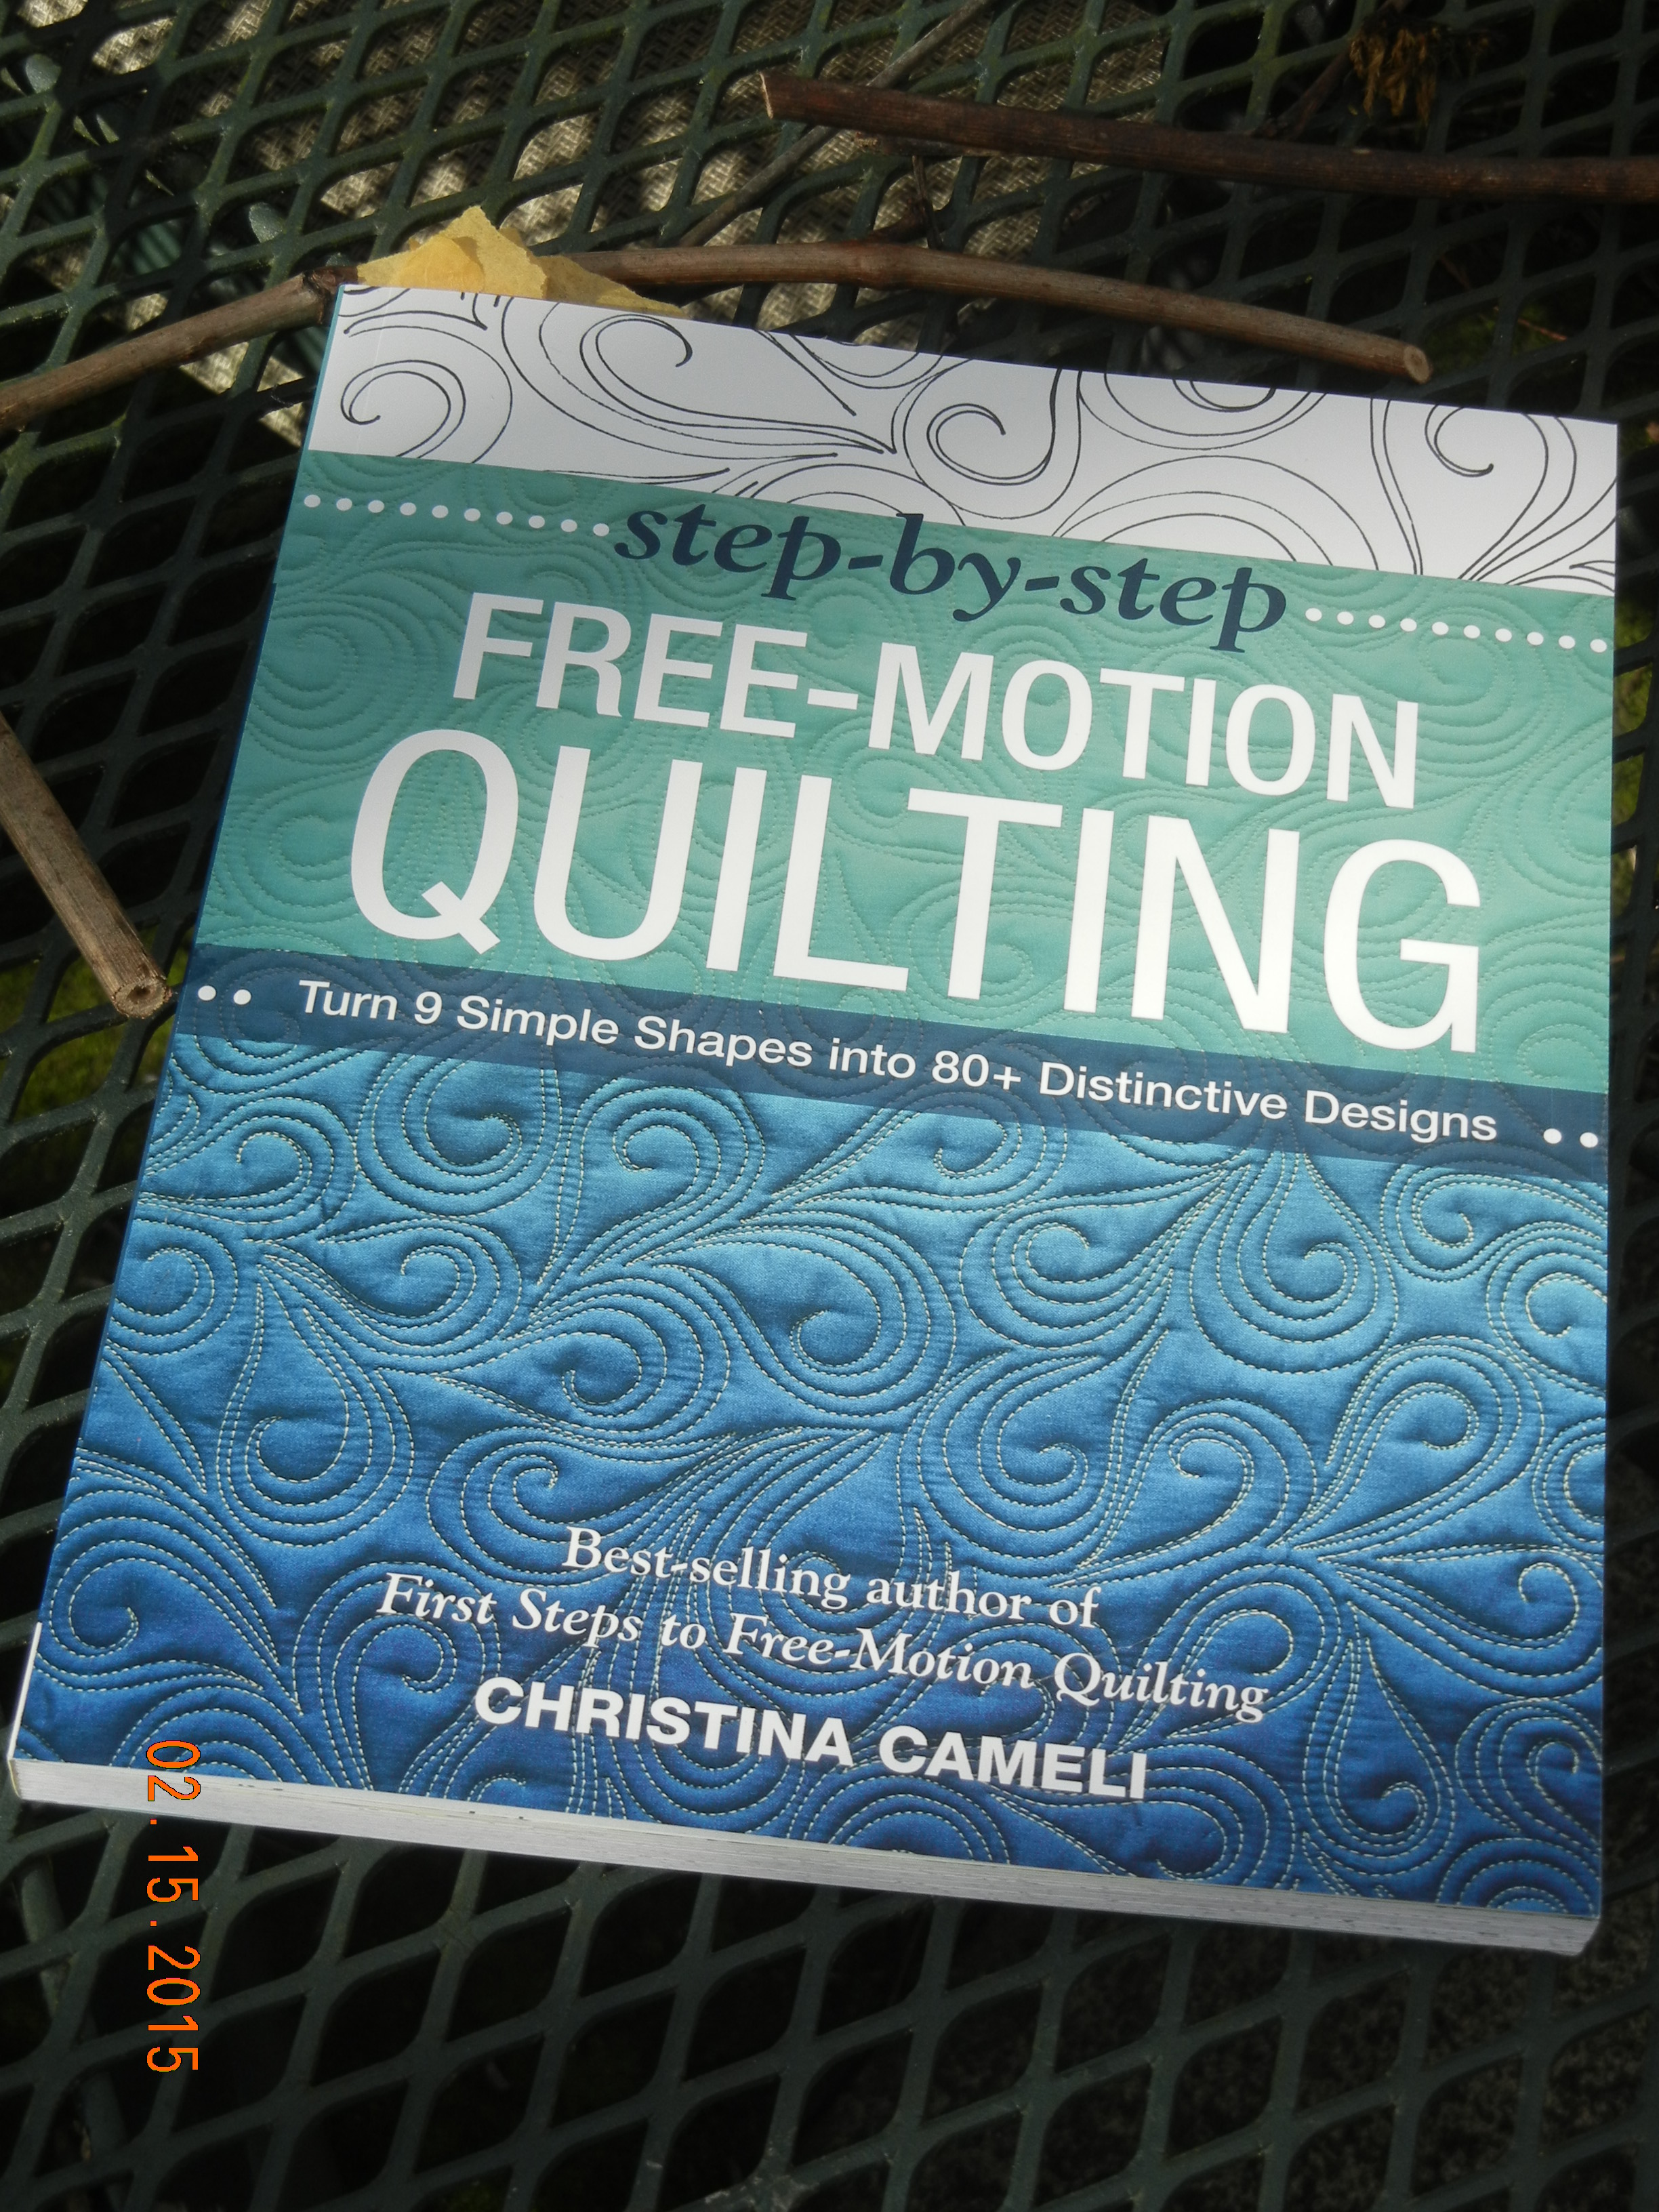 Now I’m pondering how to quilt it. I went to a book signing last night for Christina Cameli’s new book, Step-by-Step Free-Motion Quilting. I really enjoy her book, and the event was fun as I’m getting to know more people in the Portland quilting world. So I found people to talk to.
Christina’s book uses simple motifs to create what I’ll just call pretty patterns. I’m sorry if the word is trite, but I think they’re pretty.
I’ve skimmed through the book and found six that I think would work to quilt my mini improv. I want to do an all-over pattern because I want to have it done by Thursday night’s PMQG meeting, and I have limited time and patience.
 Here is one of the patterns I think might work. Most of the designs I chose are long lines with circles. Christina recommends to draw the pattern on paper first to get used to how the pattern moves from one motif to the next and how it is used to fill space. I haven’t done that before (the impatience issue), but I’ll be trying it this time.
Any suggestions for quilting?
Also, every time I make a mistake or two. The mistake this time was trimming the quilt to its finished size before I had quilted it! Rookie mistake. I was too anxious to see it without all the hanging bits left over from the improvisational piecing. I wonder how much trouble this will give me as I quilt it. 😦

Thanks for your informative writing. Its you can know well that neck pain is very common matter for human. If you want to know more things about Quilts & Coverlets . I think that is very informative details for you.
OoooOOo – improv quilts are like treasure maps – so fun to look over and fantastic when you find some special “gems”. Love this one – the white ‘triangle’ at the bottom is where my eye wants to be.
I’m glad you like it! This one is hanging in my sewing room now and I still like it – so that’s a good sign. 🙂
Hi Tam! A friend alerted me to this blog post about the piece you did in my class. I didn’t get a good photo of yours in the class, so it’s nice to see it here. I’m glad to hear you are finishing it too! Not every class sample needs to be finished, but I really like what you did here, so I hope you are pleased with the result. I have Christina’s book and took a class with Pam Raby to learn some of the free motion patterns which was really good. I know Pam teaches in Portland so you might look her up.
I also didn’t know you are a member of PMQG. I just got back from QuiltCon in Austin. It was a really wonderful show. Happy Quilting! Kristin
Hi Kristin – I’m glad you found the post! I thought maybe I should have tagged you so that you could find it, but wasn’t quite sure how to do that. The piece came out better than I thought it would. I’ll get a photo of the actual quilting posted in a few days.
I bet Quiltcon was fun! I’ve loved seeing the quilts that have been posted.
I really like the quilting design you chose for your mini and am looking forward to see them all on Thursday.
I picked a different one in the end! So it will be fun to see if you like it as well. I’ll love the feedback. 🙂
And like it you should! It turned out great! Can’t wait to see it. I like the rhythm of the long lines and the accent of the triangles and checks. And I love the yellow curvy piece. I think the design you show would work well for quilting. Lengthwise.
Thanks Claire! Is nice to get the good feedback. I was wondering what you’d think because taking the design class last year probably gives you some new insights into design.